
Commit38 //JS React [Next Steps & Wrapping Up]
I am studying JavaScript React with @skillcrush, in this module we will cover wrapping up working in React and possible next steps

I am learning with Skillcrush. Please check them out and consider signing up if you're looking to break into tech! Receive $250 off your course by using the link above. Use the coupon code: TWIXMIXY
NOTE: this discount is for Break Into Tech + Get Hired package exclusively. It's the same program I am participating in!
🏆 Greetings travelers! We are wrapping up our JS React course with Skillcrush.
// →We did it!← 🏆

Today we are wrapping up the JS React course. This is a great goal to have accomplished. Of course, I understand it’s just the beginning to my process of truly learning React, but it deserves to be celebrated.
I am feeling optimistic and accomplished. So let me hear it, what are your biggest achievements as of late? No matter how small, share them in the comments!
The React Community
Additional Vital Skills:
Connect with the React developer community
Show off your hard work to future employers
Node Package Manager (NPM)
Helps build powerful applications faster by finding, downloading & updating open-source code to import.
The React Community & You
What to look for in an NPM:
Clear Documentation - ideally provides description, installation instructions, and answers to questions.
Weekly Downloads - Larger numbers will show how popular it is, which is usually a sign of quality code.
Open Issues - Are the issues major or minor? Try searching to see if there are comparable packages with less issues.
Last Publish - Is this an active package that would be good to interact with? How recently it was last updated will be a good indicator.
Community Favorites
Skillcrush gives a great list of community favorites and they are always updating the content provided to their students.
For example, open projects like Facebook Create React App or React Component Slider.
You can also google search or search websites like GitHub to find the types of projects you may be interested in contributing to.
Before You Go, You Should Know About Hooks
In this lesson we’re talking about how class-based components can be updated to be hooks or written as hooks from the beginning. This is important because if we’re out in the wild reviewing code, it’s likely we will see the hook variation written in folks code.
Class-base Component example:
import React, { Component } from "react";
import Hotels from "./Hotels";
import Filters from "./Filters";

class App extends Component {
 state = { selectedFilters: [] };
 toggleFilter = (clickedFilterKey) => {
   let newFilters;
   const alreadySelected = this.state.selectedFilters.includes(
     clickedFilterKey
   );
   if (alreadySelected) {
     newFilters = this.state.selectedFilters.filter(
       (selectedFilter) => selectedFilter !== clickedFilterKey
     );
   } else {
     newFilters = this.state.selectedFilters.concat(clickedFilterKey);
   }
   this.setState({ selectedFilters: newFilters });
 };
 render() {
   return (
     <div className="App">
       <Filters
         selectedFilters={this.state.selectedFilters}
         toggleFilter={this.toggleFilter}
       />
       <Hotels selectedFilters={this.state.selectedFilters} />
     </div>
   );
 }
}

export default App;
Hook example:
import React, { useState } from "react";
import Hotels from "./Hotels/HotelsList";
import Filters from "./Filters/FilterList";

const App = () => {
 const [selectedFilters, setSelectedFilters] = useState([]);

 const toggleFilter = (clickedFilterKey) => {
   const alreadySelected = selectedFilters.includes(clickedFilterKey);
   if (alreadySelected) {
     setSelectedFilters((prevFilters) =>
       prevFilters.filter((filter) => filter !== clickedFilterKey)
     );
   } else {
     setSelectedFilters([...selectedFilters, clickedFilterKey]);
   }
 };

 return (
   <div className="App">
     <Filters toggleFilter={toggleFilter} selectedFilters={selectedFilters} />
     <Hotels selectedFilters={selectedFilters} />
   </div>
 );
};

export default App;
The main difference I saw was going from class App extends Component { to const App = () => {
What other changes did you notice? Or was that it?? Be sure to tell me what you saw!
Choose The Best JS Library
For this challenge we need to determine which JS library would be best for us to use based off the criteria above. To restate: Clear Documentation, Weekly Downloads, Open Issues, Last Publish
https://www.npmjs.com/package/react-toastr:
Clear Documentation - there seems to be a lot and clear documentation
Weekly Downloads - 3,768
Open Issues - 28
Last Publish - 6 years
https://www.npmjs.com/package/react-toastify
Clear Documentation - documentation looks really concise, but maybe too simple
Weekly Downloads - 1.4 million
Open Issues - 64
Last Publish - 18 days
https://www.npmjs.com/package/react-toast-notifications
Clear Documentation - documentation looks really concise, but maybe too simple
Weekly Downloads - 57,165
Open Issues - 0
Last Publish - 2 years
They all seem to have good enough documentation. Based off of weekly download and latest publish I would probably have to go with react-toastify. Although I do find it intriguing that react-toast-notifications has 0 issues. If it was updated within the last year, I would probably look at going with it.
According to the answer key my selection was the correct selection!
Showcasing Your Work
This lesson recommends listing your projects on LinkedIn. I’m sure my project space on LinkedIn could use some cleanup. I still have a lot of work out there from when I was doing freelance website, design and photography.
I want to do some cleanup with my projects and add my own spin to them before showcasing them, but that’s definitely a good tip!
Quiz: The React Community & Showcasing Your Skills
100% correct. Guess I’m ready to keep going!
Skillcrush is providing a bonus module, so I’m going to go ahead and include that in this article today.
Working with React Locally - React & Node.js
This is definitely something I’ve been wanting! Hah. I’ve been downloaded my projects and trying to get them to work, but when I saw that this bonus lesson was ahead I knew I could rest easy til I got here.
Benefits of working locally:
Applying version control - Love this for me, I can keep it synced up with GitHub
Using your own text editor - personally I’m using VSCode!
Gain React inside knowledge - I’m here for it!
Node.js
An open-source, multi-platform runtime environment that runs a server.
So with this I can test run all of my JS projects outside of the browser environment.
To do this we need to use NPM.
NPX
A NPM package runner that allows your to execute packages without installing them explicitly, which means you can run some code without installing the package on your computer first.
Get Prepared for React
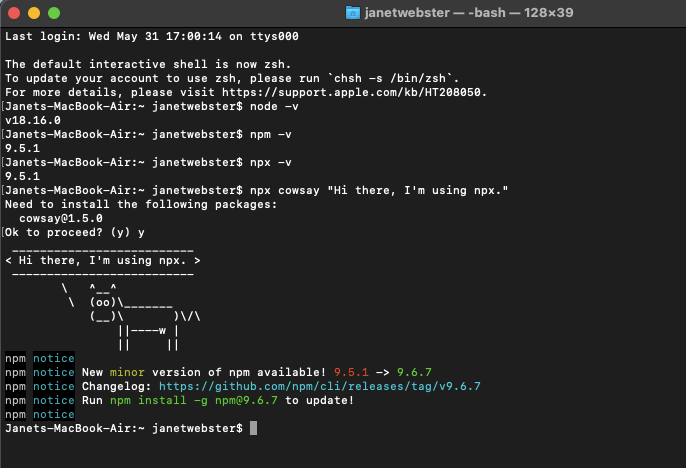
Time to install Node.js!
The instructions had us run through the install process and then check out version control. Here are the results!
Existing & New React Projects
Existing React Projects
I’m going to use my nametags project that I already have downloaded onto my device… so now it says I’m ready to run commands npm install and npm start. Let’s try it!
I did npm install and can see a progress bar…

npm install must be installed before work can start on the project. This command will create a node_modules directory in the project. Once it’s complete it can be run on the local server.
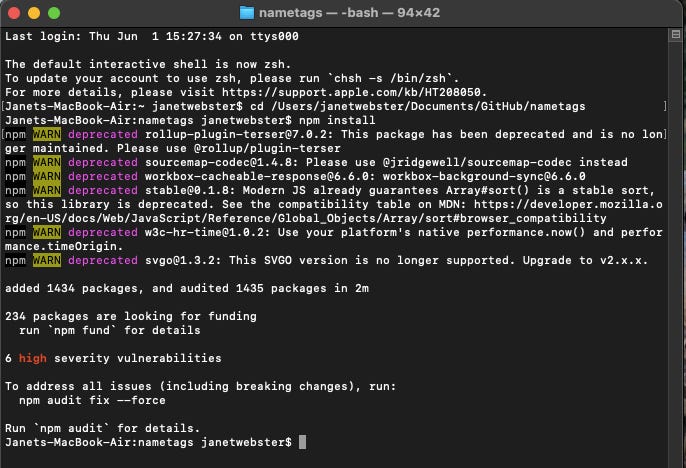
Now it’s giving me some “vulnerabilities”. The lesson says so long as the project runs I can ignore these.
Time to try npm start!
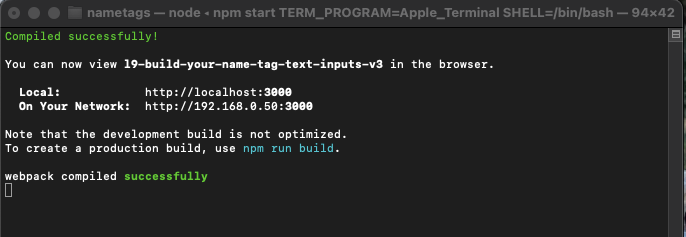
Awesome!!!
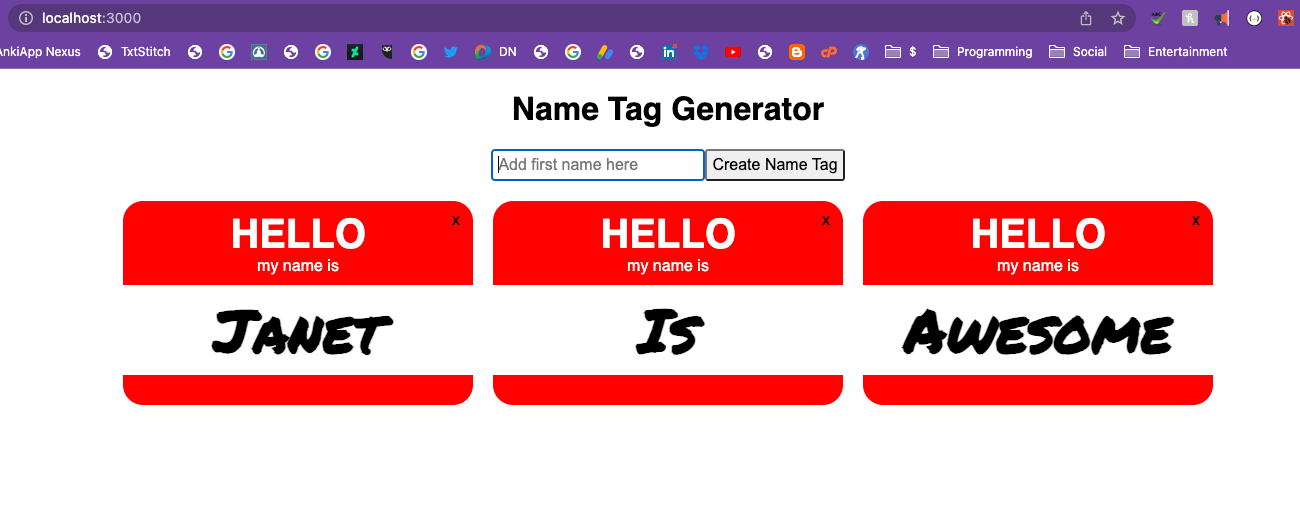
I’m super excited about this. Next I need to figure out how to get this to run on my website because I couldn’t figure that out either.
When I go to close out my terminal I get the following alert.
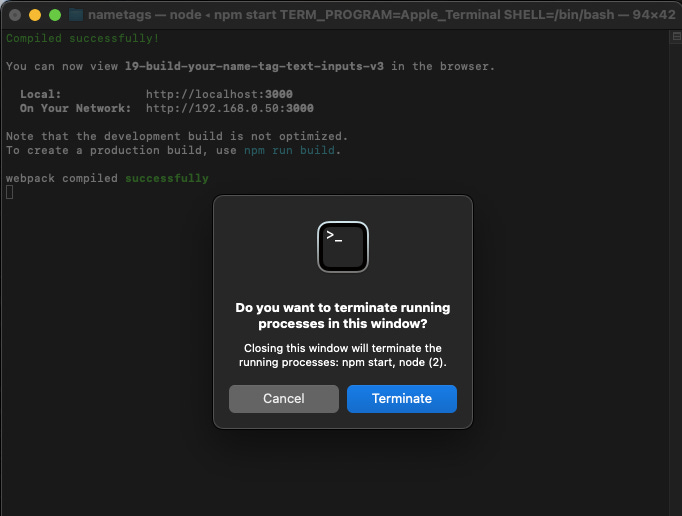
Hopefully it’s ok to Terminate since I’m done with it!
New React Projects
Create React App
OK. Time to create one from the beginning.
I created a new folder and entered npx create-react-app new-react-project into the terminal.
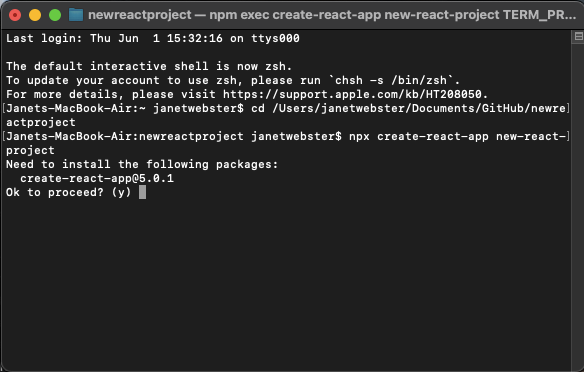
(y)
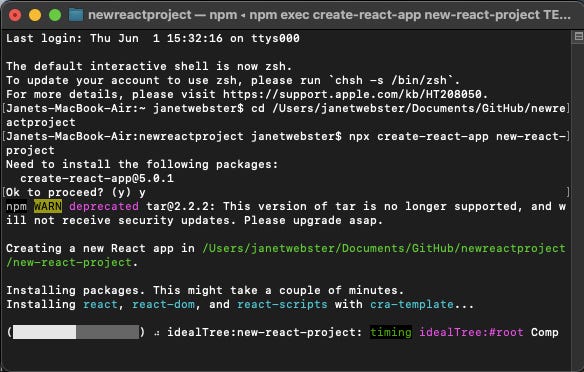
loading…
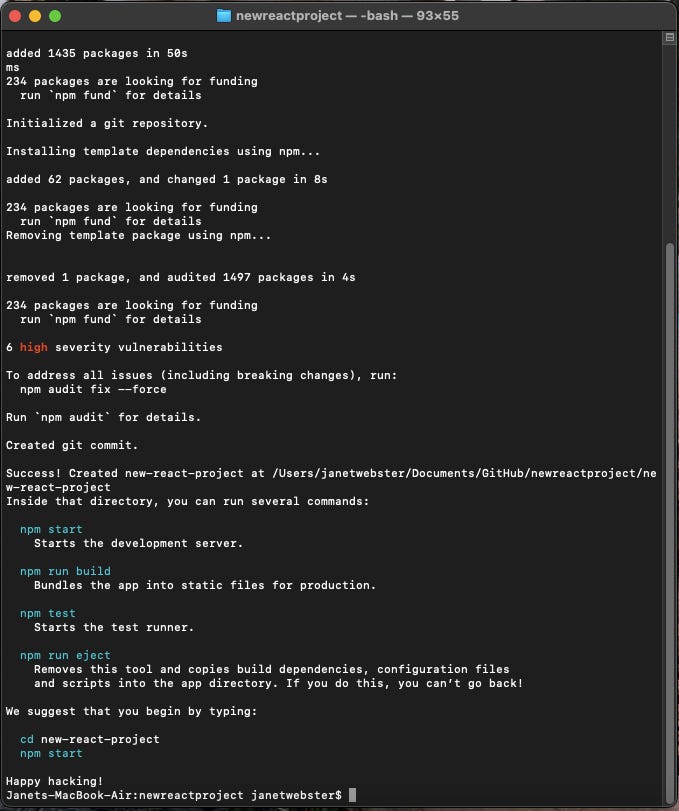
Happy hacking!
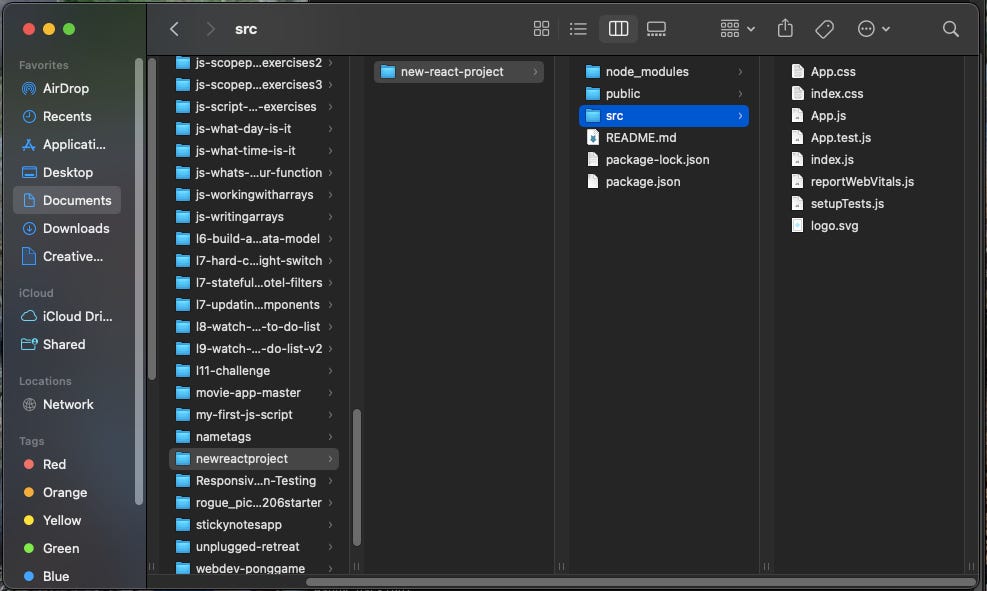
Lots of information… and lots of files were created to start the project.
Compiling & Bundling
Create React App
is a toolchain, which means it’s a group of tools and libraries that work together to facilitate working with more complex code like React.
Two of the tools included in this toolchain are Babel and Webpack.
Babel is a compiler that transforms the JSX into something the browser can read.
Compiling is the process of translating source code written in one programming language or syntax (like JSX). It converts it to another format that can be executed by the localhost browser.
Webpack bundles all the files and assets into a single file or a small number of files with all the code in the correct order so the project can run optimally upon deployment.
Files Included by Create React App
As posted above, the npx create command generated a lot of files to begin creating a React app. Some files that are not needed can always be deleted.
Important Files:
package.json - project root and contains metadata as a list of dependencies and scripts you can run like npm commands. You need this file.
package-lock.json - file should not be touched. It records specific version of dependencies and nested dependencies to ensure everyone works with the same package.
node_modules - This directory should never be placed under version control because it’s created either by create-react-app or npm install.
.gitignore - it will list the files that git should ignore, like node_modules
Working Locally with React Cheatsheet
Another great benefit of working with Skillcrush is them providing us with cheatsheets to refer to. I personally love doing CTRL+F on them to find what I’m looking for.
Work with a Project from GitHub
For this example we are using a GitHub repo from bootcamp. So we copied the SSH key and placed it in our terminal after git clone.
git clone git@github.com:skillcrush/react-love.gitCreating the following result.
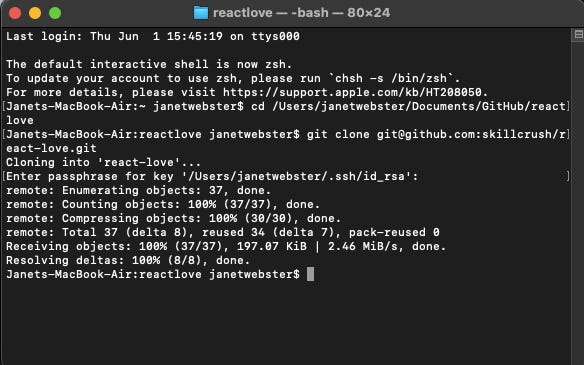
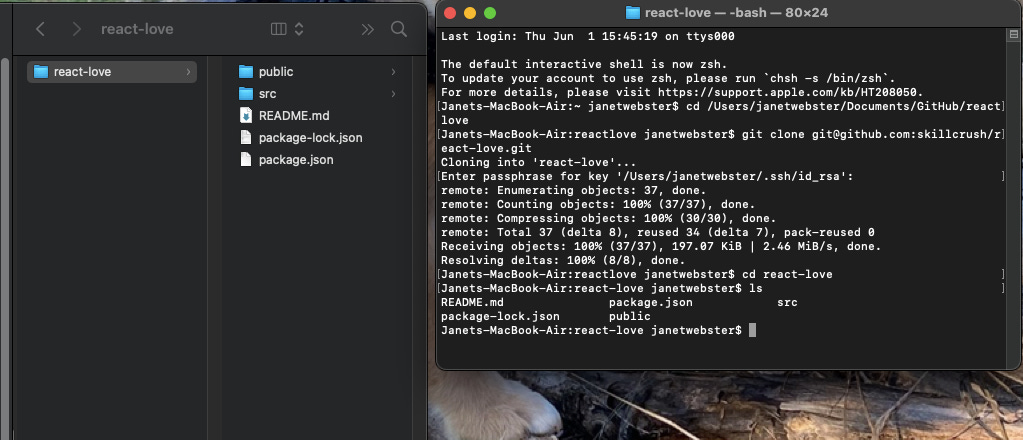
Now the files are on our local.
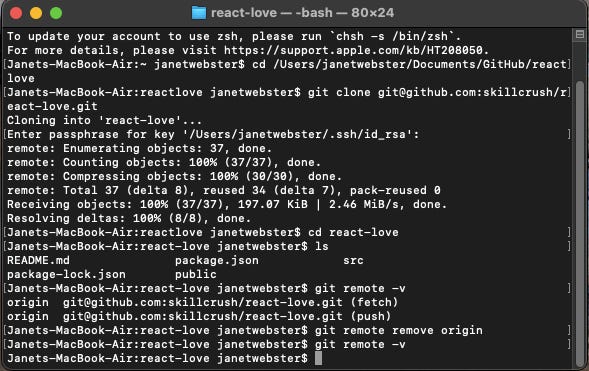
Then we want to sever our ties to the GitHub repo.
Time to run our npm install. Loading…
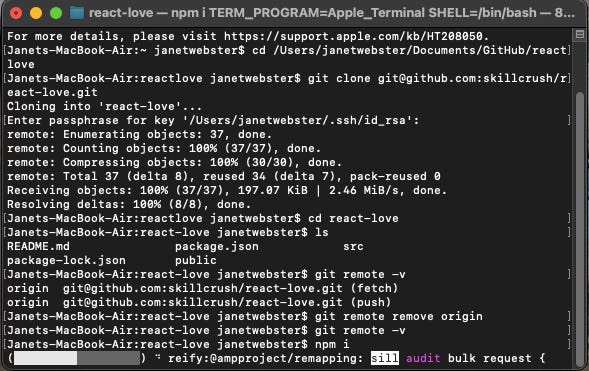
Now we’re ready to go!
We will run npm start next, but we should pull up VSCode first.
The command code . didn’t work for me, so I’ll probably let the instructors know about that.
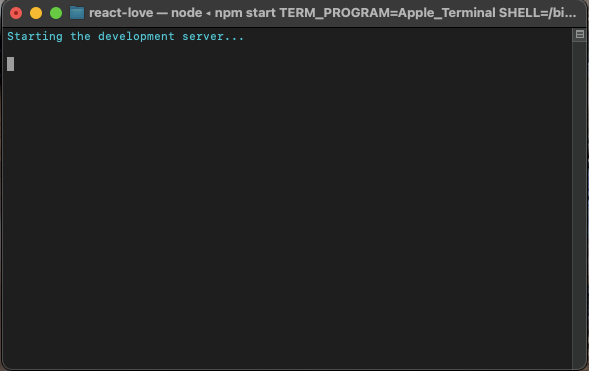
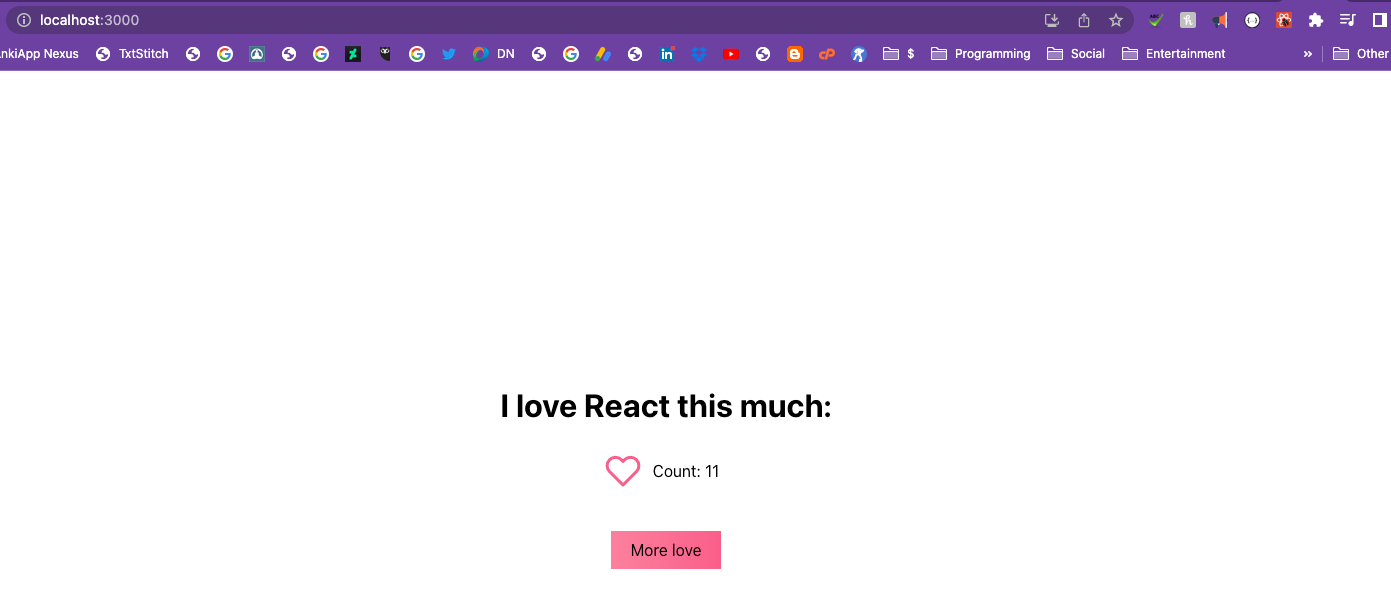
Proceeding with entering npm start to kick off our localhost of the React app.
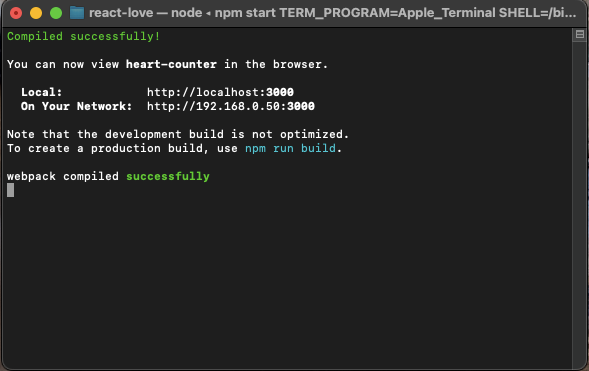
In our browser…
Start a Greenfield Project
Time to create a react project from scratch.
Following the same instructions as above to Create React App.
cd react-project
npm start
Using our terminal to get into the correct drive and then starting our project.
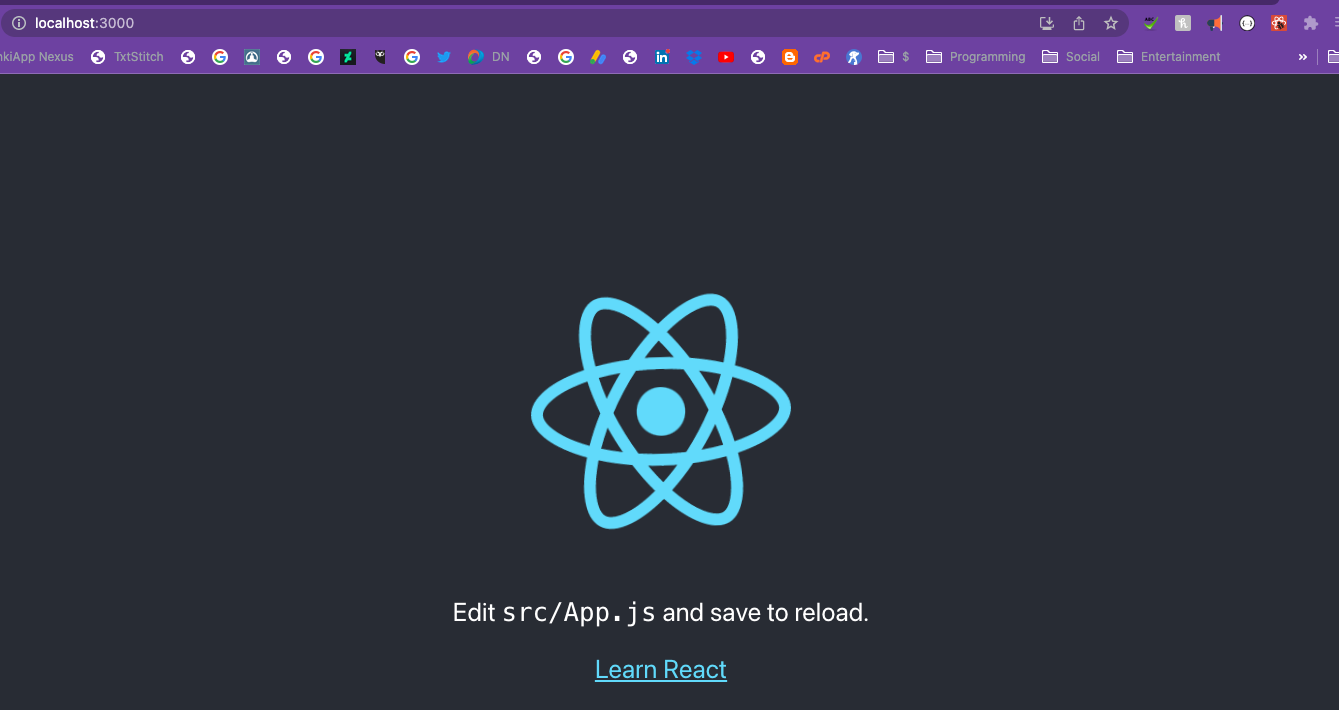
Success!
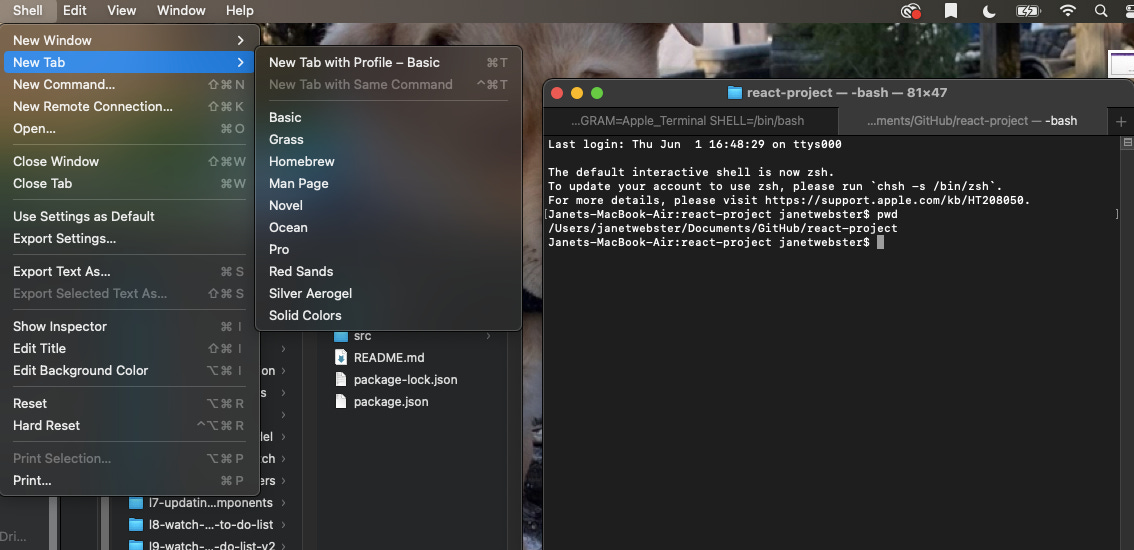
Since our terminal is now running the project, we need to open up another tab. Which I didn’t realize was a thing or possibility!
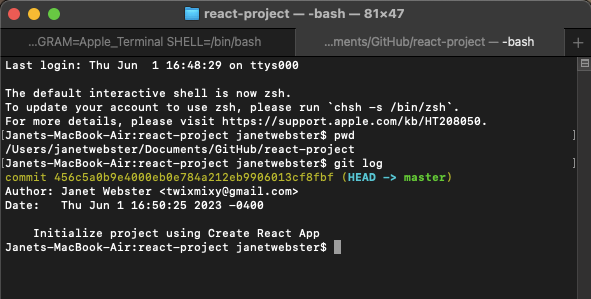
First command is git log to show us our project is under version control. Create React App did all of this.
git status
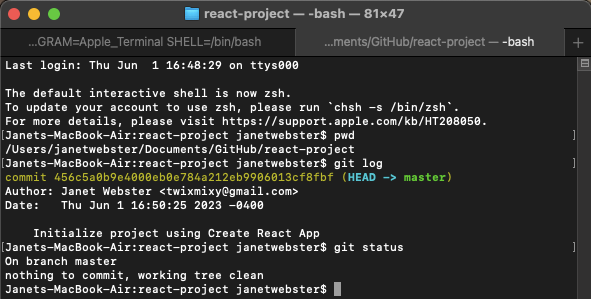
Ready to go!
The instructor gave a list of files we could delete at this point, but they are actually still actively being used (the React logo for one), so I’m going to wait to delete them.
NVM… they acknowledged that the browser gets upset about them. So BALETED!
 while checking emails, getting a rush of satisfaction whenever I can delete something without having to reply https://t.co/FqG1LlBOGS\" / Twitter")
Now we have to clean up our files so they aren’t making reference to the deleted files. I’m not going to document all of this.
We updated the files and added some CSS.
Next we will move on to adding a React confetti package.
npm install react-confettiThis comes from the following: https://www.npmjs.com/package/react-confetti
Now we need to look at our package.json file…
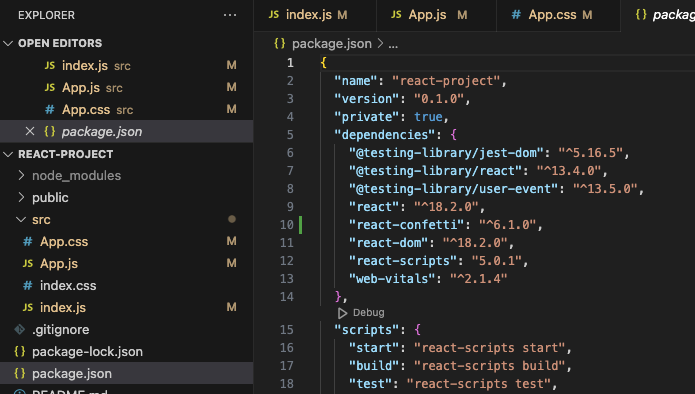
And we see that the “react-confetti”: “^6.1.0” has been added.
Next we need to import it.
import Confetti from "react-confetti";This goes into our App.js component.
along with the… prop?? I don’t know what it’s called.
<Confetti />The code in it’s entirety….
import './App.css';
import Confetti from "react-confetti";
function App() {
return (
<div className="App">
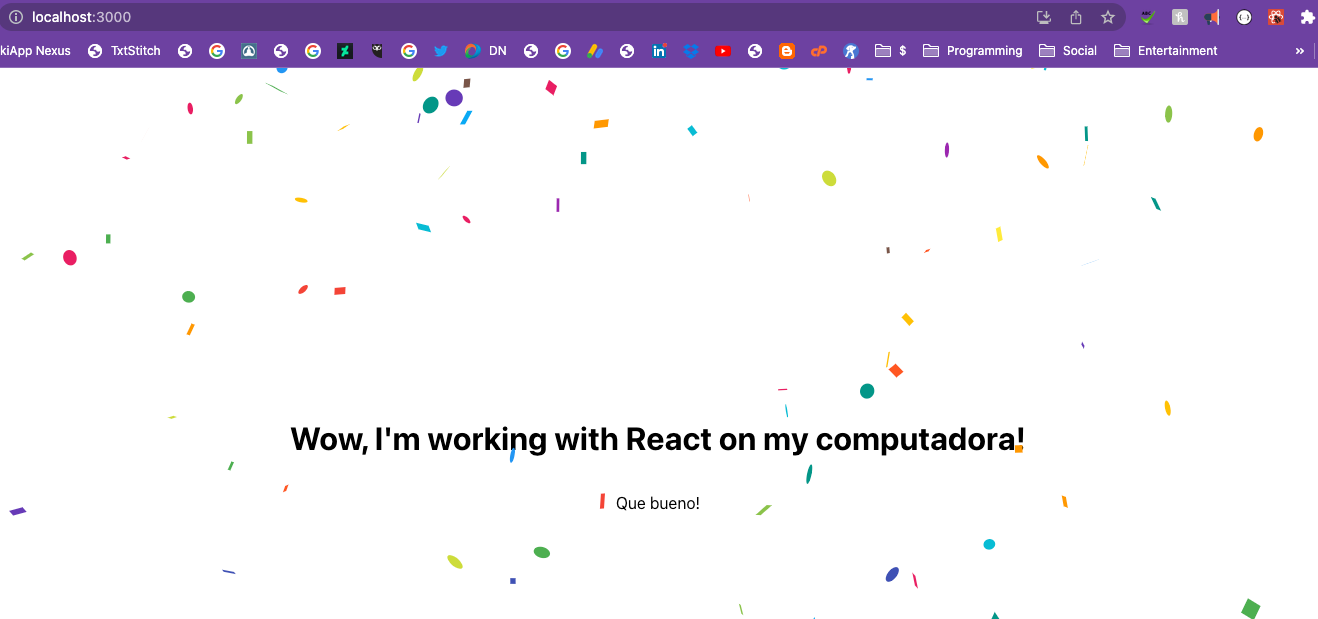
<Confetti />
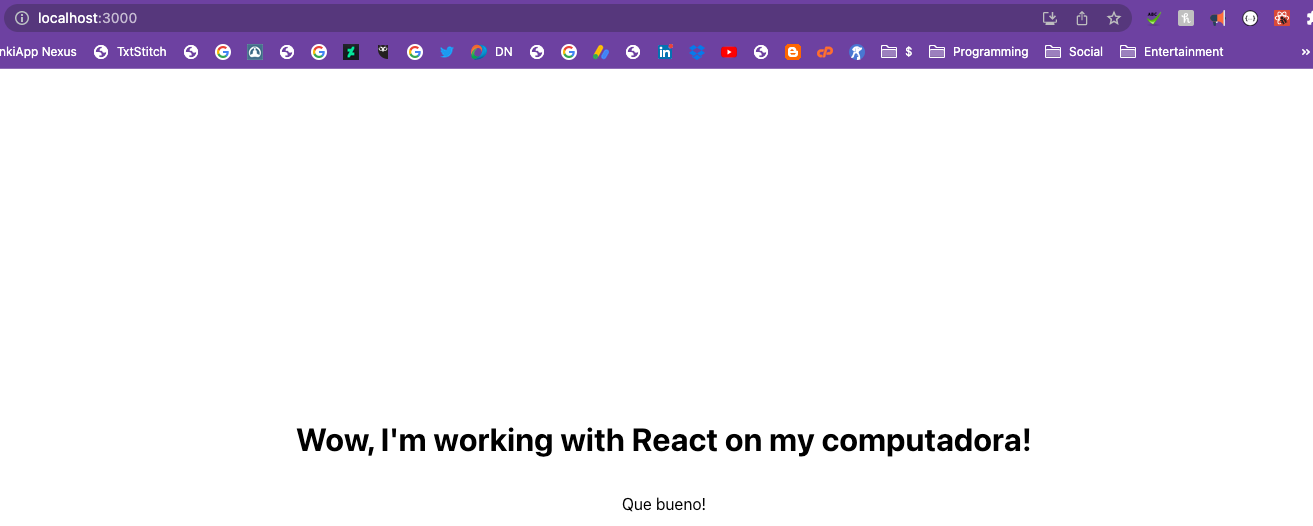
<h1>Wow, I'm working with React on my computadora!</h1>
<p>Que bueno!</p>
</div>
);
}
export default App;And yeah, it works! That is pretty cool.
git status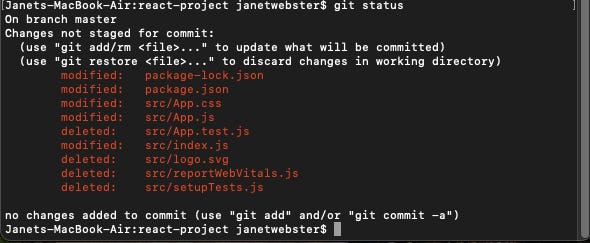
We can see all the files we updated, added, deleted now.
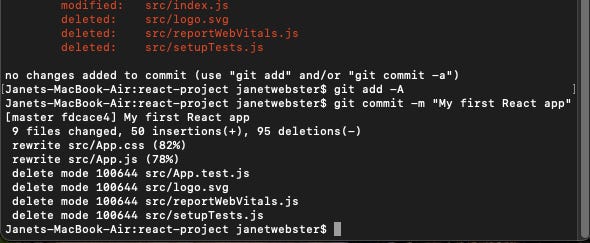
Added and committed all the changes.
Well that was a long day and my dog is definitely begging for some attention at this point. Thanks for joining me on this part of the journey.
What did you think? Leave me a comment and share!